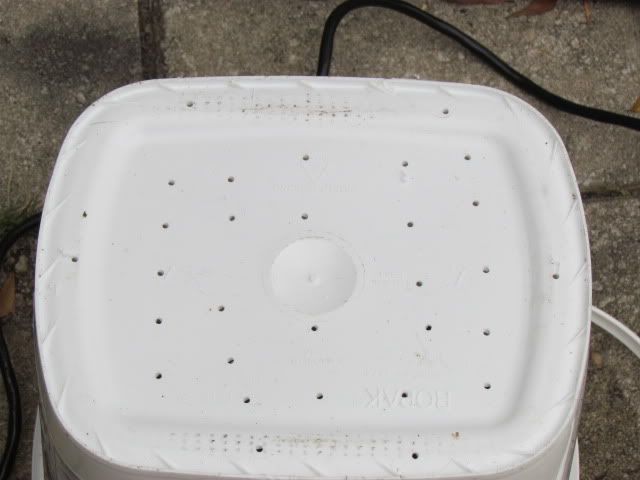
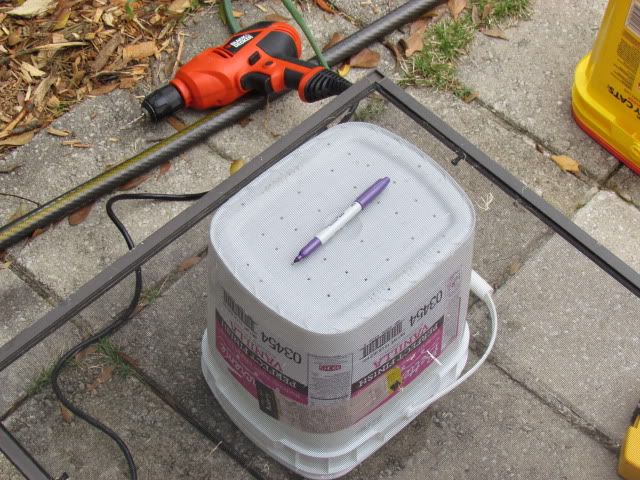
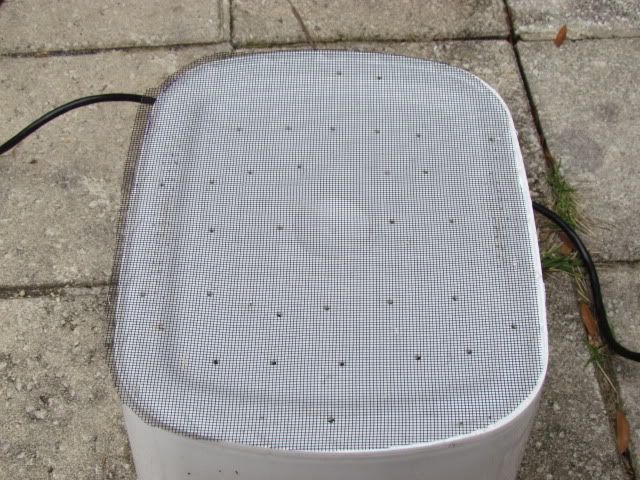
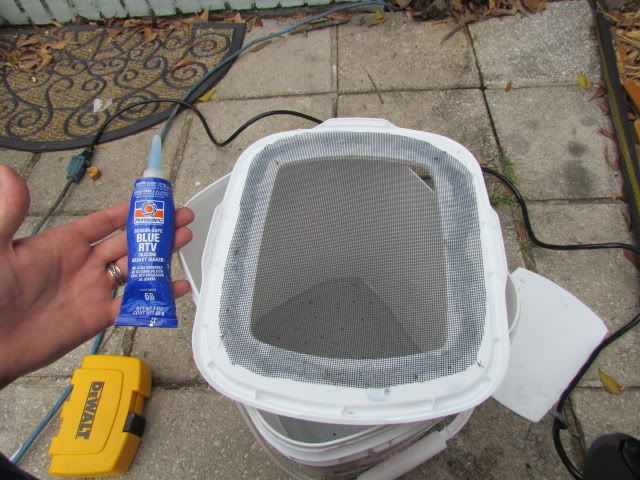
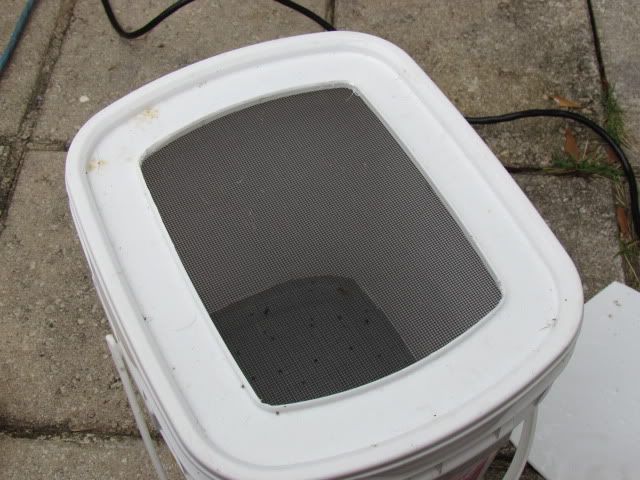
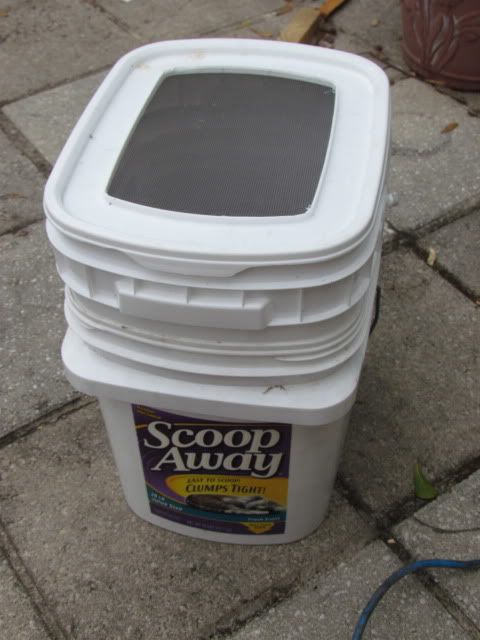
My next project with the frosting buckets is a vermiculture project, worms. I'll take one bucket drill small holes in the bottom and then cover the holes with a piece of window screen trimmed to fit the bottom. Then I'll place this bucket into a second unmodified bucket. Then fill it with a combination of ripped up wet cardboard and newspaper 1/2 full Then add organic matter till it is 2/3 full. Then add 1/2 to 1 pound of worms. Feed them kitchen scraps by burring them in the middle of the organic matter at the perimeter. It is best to do this with 7 locations, one for 7 days so that all of the food is eaten before placing more there. They will eat almost everything except onions and citrus. Also avoid oil and meat which can attract rodents and make it stinky. For a lid to keep the worms in and other critters out, cut a hole in the bucket lid, cover said hole on the inside with window screen, and glue into place. I used automotive blue glue, but silicone caulking would work too. This lets plenty of air in for the worms and keeps flies out.
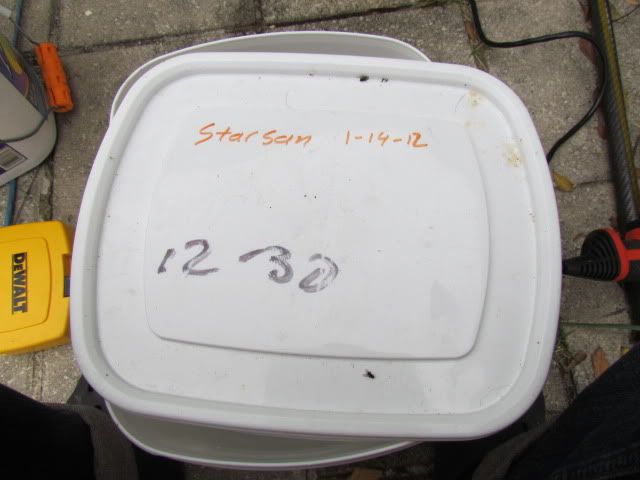
Keep this in a cool shady spot outside, or in a garage or counter inside. And don't let it freeze solid, it can kill the worms. To harvest the castings and the liquid, separate the two buckets. The bottom one should have liquid worm waste in it, which can be diluted and be used like a rich compost tea. The castings will need to be separated from the worms, to do this take advantage of the fact the worms don't like light. Make conical piles and give the worms a few minutes to get to the bottom center. Then rake off the top and sides till you start seeing worms. At that point reform a conical pile and let the worms concentrate further. You can combine smaller piles to get more castings from the worms, or add it back to the bucket when you put the worms back in. These castings can be used as a soil amendment, a fertilizer, or made into a "compost" tea.